Friday, July 5, 2013
Karl L x Tokidoki Cute video
So I'm not a fashionista but I know who Karl is (super famous fashion designer) and it seems he's teamed up with one of my favorite companies, Tokidoki (Italian designer who makes handbags and accessories). They made an adorable video celebrating the launch of their collaboration and I just adore it. I love the design, the color scheme and it even has a cat so you know I'm all over that aspect. Check it out and Enjoy!
Sunday, April 28, 2013
Circle Mania 2013
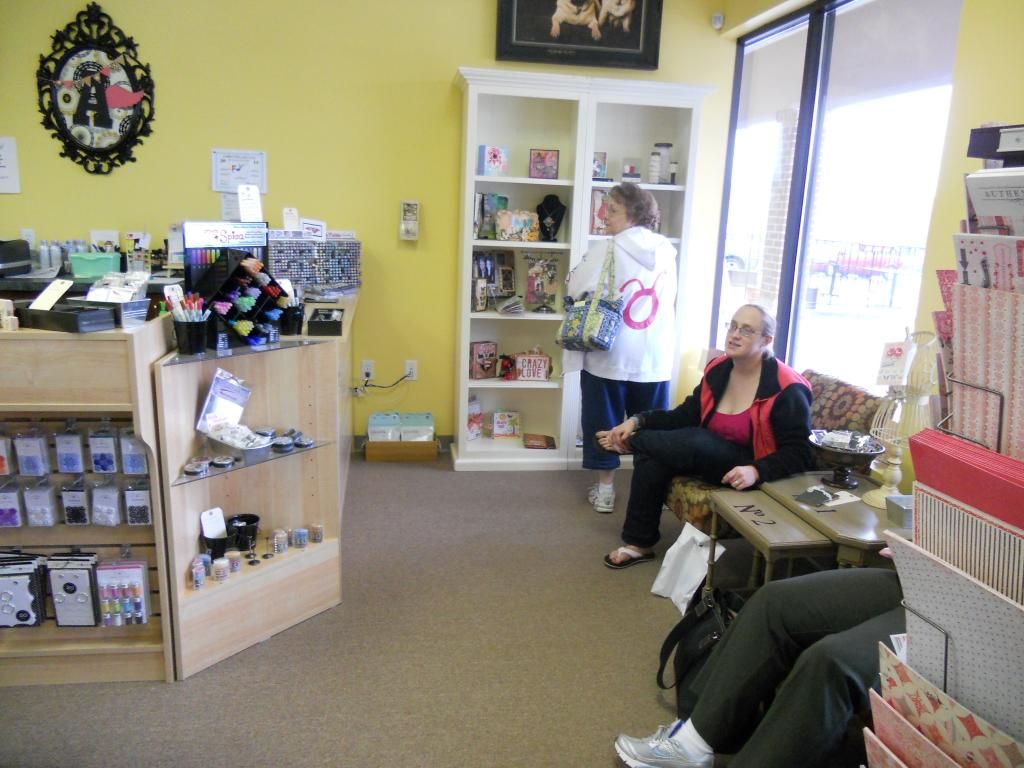
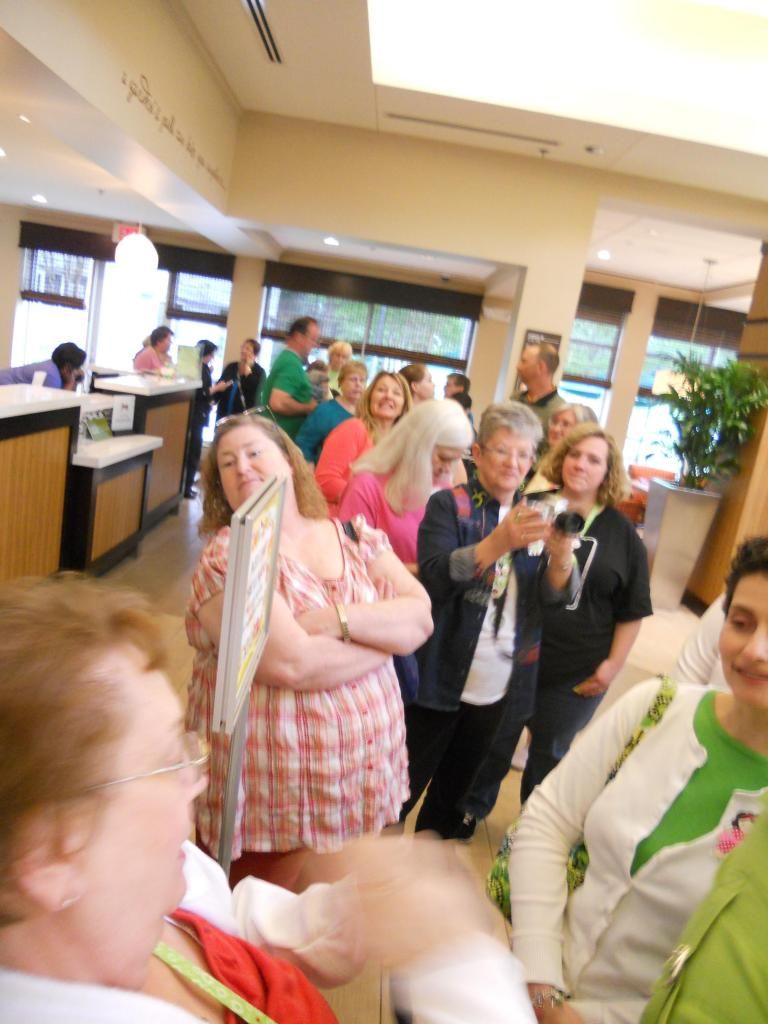
I came back this week from an awesome event put together by a member of the Cricut Circle community, Scrapalette. It was great, from the food to the venue but especially the people! They all made this California girl smile.
Altered Angels Scrapbook store (friendly and their adorable pugs roam the store helping you to shop)
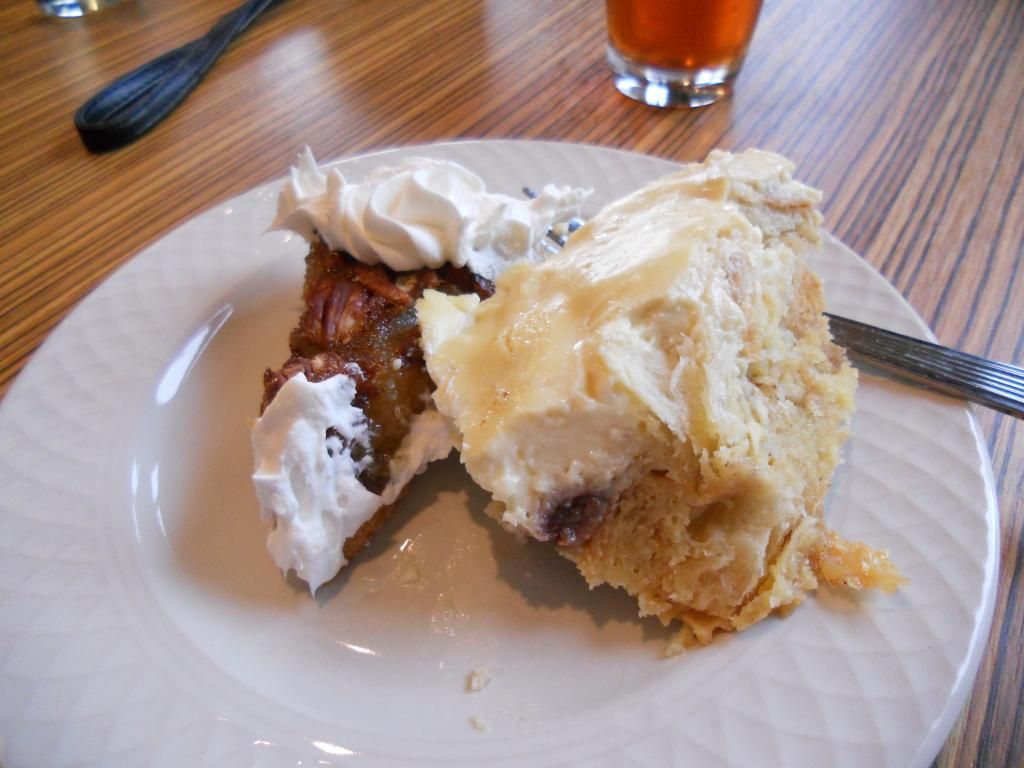
It was a great weekend of crafting (well watching others craft) shopping (love me some Archivers, please come to California) and laughing. The Hilton Garden Inn in Alpharetta, Georgia was fantastic and helpful. It was fun listening to all the Southern accents and being treated to that famous Southern hospitality.
Altered Angels Scrapbook store (friendly and their adorable pugs roam the store helping you to shop)
 | ||
 |
Saturday, January 19, 2013
Gossamer Blue Kit Club
If you're looking to join a kit club I have a good one to recommend. Gossamer Blue is a great because of a couple of reasons, great products and prices being the main one. It is no commitment so you can cancel anytime without fees. The monthly price of the kit is about $30 which is the base price of many other kit clubs. I've enjoyed their paper and embellishment selections, my December kit included a lot of SNAP products which were sold out everywhere else.
A unique thing about their club is that each month includes a digital element and if you upload 4 layouts using their kits for 5 straight months they will send you a free album to house the 20 layouts! Neat huh?
I started my kit in December and have been impressed with the speed of my kit shipment and customer service. Another neat feature is that they include a sticker label that features the name of the kit and the colors used for quick reference. Little touches like this impress me a lot.
Find more info at their site here:http://www.gossamerblue.com/
The current Lookbook (sneak peek of upcoming kits) is here: Lookbook
Wednesday, November 21, 2012
Etsy Finds
Haven't done one of these in a while and with Christmas coming up thought I'd start again.
In case you haven't noticed I love "cute". One of my favorite shops is Stephanie Fizer Coleman's TheFoxandTheTeacup
She has some adorable prints and other items and I've even requested custom items from her before. I adore her calendars which are only available this time of year.

In case you haven't noticed I love "cute". One of my favorite shops is Stephanie Fizer Coleman's TheFoxandTheTeacup
She has some adorable prints and other items and I've even requested custom items from her before. I adore her calendars which are only available this time of year.
Monday, November 19, 2012
December Daily 2012 Ideas and Thoughts
What is December Daily? It is a project started by Ali Edwards that is basically a way to document the Christmas/Holiday season.
Why do it? It's easy to forget the little details that from the holidays since they rush by so fast. Why not capture them and celebrate what makes them special to you?
What if I'm already doing Project Life? Isn't this the same thing?
Not a problem, Project Life is more of a simplified snapshot. December Daily is more of an in depth close up of your holidays.
How do I get started?
*Buy, find, or make an album (after deciding what size you want) then create base pages.
This could be as simple as sticking cardstock on the page.
*Buy/gather embellishments. You can go with a theme or coordinating color palette or have a different one everyday.
*Create Date labels. This could be as elaborate or simple as you want. You need to decide what days you want to document, Ali does the 1st through the 25th. I think it's neat to do the whole month so you can include New Years Eve. Last year I used 2 different stamps.
It's not necessary to do all this pre-planning but I promise you it is so much easier to keep up with when you do. I suggest to at least do the 1st week. I also suggest buying a notepad/notebook to write down details, ideas, photos you want to use to keep track of your days. Carry it around with you so when inspiration strikes you can jot it down. If you travel or get behind this is an excellent resource.
Find more info direct from Ali here: http://aliedwards.com/2009/12/december-daily-compilation.html
If you think your life is too boring it's NOT. I've been taking an online class all year that has really taught me that my life is filled with stories, even me a person with no children or spouse. Every life has value and interest. Find Ali's ideas here: http://aliedwards.com/2011/11/december-daily-2011-25-ideas-and-story-inspirations.html
Another spin on this daily December project is Shimelle Laine's (one of the garden girls at Two Peas in a bucket) Journal Your Christmas project. It is similiar to DD because it helps you document the holidays day by day. However Shimelle's take is through an online class (including forums) that really guides you with daily prompts sent to your email. The prompts include journaling ideas, photo ideas/tips and even downloads. One of the neatest things is once you pay the first year ($35 last year) you are automatically enrolled each additional year for free. About $1 of each enrollment also goes to a charity fund she supports. Find more info here: http://www.shimelle.com/paper/1284/journal-your-christmas-2011-online-scrapbooking-class/ She should be updating it soon with the 2012 info. I highly recommend it because she's a fabulous teacher.
This year I'll be doing a combination of the 2. I love the guidance that Shimelle gives but this year I'd like to try to switch things up which is why I'm calling mine December Daily this time. I'll be doing my own ideas for much of the month but there will be certain days that I will refer to JYC emails. That's the lovely thing about this you can do whatever, however you want! Check out a couple pages from mine last year!
 |
| My cover from last year |
 |
| You don't need to have a photo on every page |
 |
| An awesome printable from Shimelle last year |
 |
| Pictures don't have to be perfect |
 |
| Don't be scared to document the "bad parts" |
Final Tips
1. Don't be scared of this project, don't feel pressured to make it perfect or to "keep up"
2. Include memoribilia like your Christmas card, a napkin, a Starbucks cofee label or ripped out advertisement you like
3. Have other family members contribute
4. Don't forget to get in the pictures
5. Have fun
Friday, October 19, 2012
Double Slider Stick Pin Box
Hi there, welcome to my little corner of the web! Thank you for joining us in this Halloween blog hop, you should be coming from Liz's blog. You can also start from the beginning with Yolanda.
A few weeks ago I participated in a stick pin swap and wanted to find a fun holder for them. I came across an adorable box on youtube from sscrafter1 that you can find here: Double Slider Box
I received many compliments and decided to document how I did it but make sure to watch the video, she makes it very clear and I don't know about you but I'm a visual person.
I also went ahead and made some printable instructions that go more into detail. Download them here:
Box Instruction Pictures This has a full page of photos
Box instructions


In the end you will come out with this!
Measurements:
4" tall, 3" wide, 3/4" deep
Box body -4x10 3/4 patterned cardstock (can be double sided but not required, the middle panel will be the front of the box, panel with tab will be the back)
Inserts- 2 of these-2 3/4 x 3 3/4 cardstock (1 will be seen from top, 1 from bottom, decorate before assembly)
Lid-3x3
Slider-You will need a 1 inch wide strip cut from a plastic shopping bag about 8-9 inches
Instructions:
1. Score the body at 3", 3 3/4", 6 3/4", 7 1/2", 10 1/2", this will form 3 panels that make up the box.
2.Wrap plastic strip around the panel without the tab lenghwise so it runs from top to bottom, forming a loop, pull tight and use doublesided tape to adhere to each other and not the box.
 3. Add at least 2 additional strips of tape to joint and right above. Adhere the 1st insert to this. Add foam or cut up makeup sponge with hot glue to bottom of panel to hold your stick pins.
4. Pull insert to top edge, turn panels around so you are now working on the backside.
5. Add double sided tape to plastic strip and adhere 2nd insert facedown, aligning with bottom edge.
6. Form box, add liquid glue to tab, glue to box so that it rests below insert.
7. Score lid at 1/2", 1 1/4", fold and add glue to bottom and add to box so that lid will close correctly.


Just leave a comment with a way to contact you and I will be handing out a little Halloween kit and also the box I made with the stick pins! Deadline is 9pm Pacific time Sunday, winner announced Monday morning.
GIVEAWAY CLOSED (There were 26 people but 28 comments so I went with the 26 people)
 The winner is Tracie!
A few weeks ago I participated in a stick pin swap and wanted to find a fun holder for them. I came across an adorable box on youtube from sscrafter1 that you can find here: Double Slider Box
I received many compliments and decided to document how I did it but make sure to watch the video, she makes it very clear and I don't know about you but I'm a visual person.
I also went ahead and made some printable instructions that go more into detail. Download them here:
Box Instruction Pictures This has a full page of photos
Box instructions


Measurements:
4" tall, 3" wide, 3/4" deep
Box body -4x10 3/4 patterned cardstock (can be double sided but not required, the middle panel will be the front of the box, panel with tab will be the back)
Inserts- 2 of these-2 3/4 x 3 3/4 cardstock (1 will be seen from top, 1 from bottom, decorate before assembly)
Lid-3x3
Slider-You will need a 1 inch wide strip cut from a plastic shopping bag about 8-9 inches
 |
| Additional supplies: double sided tape, liquid glue, hot glue gun, glue sticks, scoring tool, embellishments , foam or makeup sponge |
Instructions:
1. Score the body at 3", 3 3/4", 6 3/4", 7 1/2", 10 1/2", this will form 3 panels that make up the box.
2.Wrap plastic strip around the panel without the tab lenghwise so it runs from top to bottom, forming a loop, pull tight and use doublesided tape to adhere to each other and not the box.

4. Pull insert to top edge, turn panels around so you are now working on the backside.
5. Add double sided tape to plastic strip and adhere 2nd insert facedown, aligning with bottom edge.
6. Form box, add liquid glue to tab, glue to box so that it rests below insert.
 |
| This picture is missing inserts but you can see the tab you will be adding the glue to. Also you can see the lid. |
8. I decorated with a die cut on front that was glued on halfways so that the lid cut tuck in right behind. In the video she used a velcro dot to close.
8. Your slider should work so that when you pull out the insert on top, the insert will peek out of the bottom at the same time.
Tada! All done.
I embellished by
-rounding my corners of my lid and added a purple bow
-adding a Close to my Heart stamp spooky sentiment on the lower panel. I also added some stickles in Firefly and bling from my stash.
-edge punched the upper panel along with stapling a strip of orange ribbon so that it's easier to pull
-die cut a cat and fence with bird on top with my Cricut using the Chic n Scary cartridge, added purple bling from stash, stamped bats from Close to my Heart set and then fussy cut, Black Diamond stickles
-punched circle to silhouette cat
Now for some fun! Blog Candy!


GIVEAWAY CLOSED (There were 26 people but 28 comments so I went with the 26 people)
Your next stop is Wanda's Blog
Don't forget to visit the rest of the blog hop:
1. Yolonda http://craftyscentiments.blogspot.com/
2. Terri http://scrappinwiththebug.blogspot.com/
3. Brenda http://happyscrapper64.blogspot.com
4. Liz http://lizziesworldofcrafting.blogspot.com
5. Sofia http://glitternglow.blogspot.com <<<<<<You are here!
6. Wanda http://greenapplescrapper.blogspot.com/
7. Becka http://www.creationswithbecka.blogspot.com/
8. Tammy http://www.scrapcavecreations.com/
9. Michele http://www.michelegreen.com/
10. Betsy http://betsymcreates.blogspot.com/
11. Tracie http://www.thecraftytouch.blogspot.com/
12. Sherry http://macybella.blogspot.com/
13. Terri http://tdycreativegal.blogspot.com/
14. Amy www.clearlystamping.blogspot.com
15. Paulette http://scrapalette.blogspot.com/
Thursday, October 18, 2012
Quick Tip: Washi Organization
I came to be a washi tape addict last year and have slowly built my collection. However one thing that I was getting confused on was which Washi I had already bought. I took a class with Freckled Fawn and they gave a fantastic tip about adding washi in strips to plain manilla tags and then connecting them with a binder ring. Genius! Now I can use this tool when shopping so I don't double up on a roll (it lasts forever!) and I can use it to refer to when I'm doing layouts.
FYI: Washi tape for those who don't know is similar to masking tape since it has transparent qualities. You can use it on layouts for embellishing, journaling on or as borders. You can even use it on home decor items.
I buy mine through various places since alot of scrapbooking companies are now making it but here are a couple of washi "specialty" shops.
Freckled Fawn (highly recommend their red woodgrain tape, it's adorable)
Pretty Tape on etsy
TheWashiShop on etsy
Also don't forget to come back here for a Halloween Blog Hop. I will have Blog candy up for grabs!
 |
| I need more orange, yellow, pink and purple |
I buy mine through various places since alot of scrapbooking companies are now making it but here are a couple of washi "specialty" shops.
Freckled Fawn (highly recommend their red woodgrain tape, it's adorable)
Pretty Tape on etsy
TheWashiShop on etsy
Also don't forget to come back here for a Halloween Blog Hop. I will have Blog candy up for grabs!
Subscribe to:
Posts (Atom)